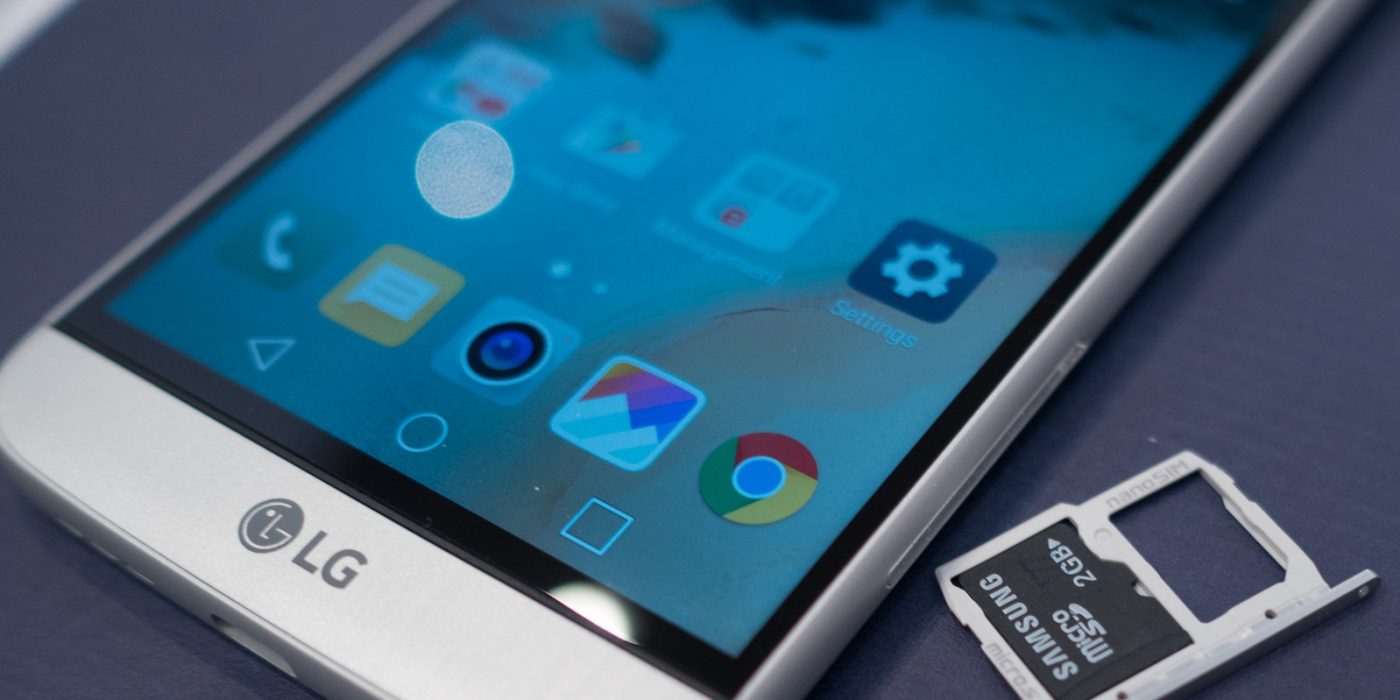
A smartphone is much more than a device able to make calls and send texts, since, among other things, it can easily replace an MP3 player. Actually, a lot of users rely solely on their phones in order to listen to music on the go, getting an additional SD card, where there are stocking tons of their favorite songs if the internal memory is not enough.
Still, not many of them know what’s the correct way to transfer music from a computer to an Android’s SD card. Presuming that the majority relies on a PC for this entire operation, of course.
Step-by-step instructions to transfer music from a computer to an Android’s SD card
If you’re a novice yourself or simply want to find out if you’re doing it correctly, these are the steps you need to follow for this process:
Step 1: Remove the SD card from your Android device
In order to avoid any problems, you actually need to unmount your card before removing it from its slot. Go to Settings > Storage and look for the Unmount SD card option, then tap on it.
A message will pop-up, warning you that some of the apps you are using may be unavailable until you remount the card. Tap OK. The card will unmount and you will see a notification saying “SD card safe to remove”. You can now proceed and remove it from its slot as well.
Step 2: Insert the SD card into your PC’s card reader
In a few moments, your PC will detect the microSD card and you can open it to transfer music. If your PC doesn’t have a reader, you can always buy an external one. Usually, it looks similar to a flash USB drive and you insert it in one of the PCs ports.
Step 3: Open the SD card’s directory and copy the desired music files
Basically, this is the step where you transfer music from a computer to an Android’s SD card. Copy all the files you want onto the microSD card, either by drag and drop or copy/paste. Wait until all files are transferred.
Note: Make sure you transfer only files that are compatible with your phone. Stick to MP3 or MP4, in most cases.
Step 4: Remove the SD card from your PC
Go to the PC’s system tray (those icons in the bottom right corner, alongside the clock) and click on the small white arrow. You should see the Safely Remove Hardware and Eject Media button. Click on it, in order to stop the microSD card, then remove it from the card reader.
It’s very important to stop the microSD card before removing it from your PC, as this makes sure that the transferring of the files was done correctly.
Step 5: Insert the SD card back in your phone
Remove the phone’s tray, using the special tool, if you have a phone with a tray for both the SIM and the microSD card. Put the card back in your phone and, using either your default music player app or the file explorer, check out the music files you just transferred.
In some cases, you can get an error saying that the phone can’t read the card. Don’t worry about this, as a simple restart or removing the card and inserting it again can quickly fix it.
This is how you can quickly transfer music from a computer to an Android’s SD card in just a few simple moves. If you still have questions about how it’s done or get stuck somewhere, drop a few lines in the comments section.


Comments are closed.