While everybody is talking about VR, AR is also doing a lot of progress, with a lot of important tech companies (and not only) taking advantage of everything it offers. We already saw some amazing projects coming from augmented reality companies and we bet that there are way more coming up!
And you know what’s the coolest part about it? You can also do it. Take advantage of it, that is!
If until now you’ve tried making your own VR apps and you’re up for a new challenge or simply want to learn something new, we have some good news. Unity and augmented reality make a sensational duo. Wanna know why it’s worth combining them? Stick with me for the next minutes!
Start making AR apps for free!
The internet is loaded with resources, so every time you have an idea and think that you can put it into practice, you will definitely find all the information you need. Starting from this idea, after draining half of my phone’s battery with a couple of new Snapchat filters, I was actually very curious how they were made.
Props to the social network, by the way. If it weren’t for them, I wouldn’t be writing about Unity and augmented reality now.
So there I was, looking all over blogs, forums and all kinds of websites, in my attempt to find as much as possible about how the heck they made those filters. I knew that they were great examples of augmented reality, but hey, I’m a geek, so I wanted to know even more.
Apparently, there are a lot of tools you can use to make an AR app, but it’s Unity that manages to stand out of the crowd. The cool part about it is that you can integrate various AR platforms in it, which provide amazing opportunities for development! Oh, and all these are available for free!
Vuforia, the platform of choice for many devs
As mentioned above, you can integrate AR solutions in Unity and, starting with version 2017.2, Vuforia is one of them.

Technically speaking, it is a software platform for creating augmented reality apps, allowing developers to add advanced computer vision functionality to any app, so it can recognize images and objects, but also interact with spaces in the real world.
But this sounds way too complicated, right?
If you prefer a simpler approach, let’s just say that it makes it very easy to create stunning Unity and augmented reality experiences, no matter if you’re focusing on handheld or headword devices.
It has a Unity augmented reality SDK, which can be used for making some pretty cool things. And I bet that now you want to know how. Ok, just follow me closely.
How to develop AR apps with Unity and Vuforia
First of all, there’s one thing that’s worth mentioning: I’m no expert in Unity AR, but I’ll try to introduce you in it and include all the resources you need. Don’t worry, it’s easy to set up a basic Vuforia project in Unity. Let’s begin, shall we?
Step 1: Download Unity
You can find the installation kit on www.unity3d.com. Also, make sure you add the modules for Android. If you want to build for iOS, there’s also a module for this.
Step 2: Create a developer account on Vuforia
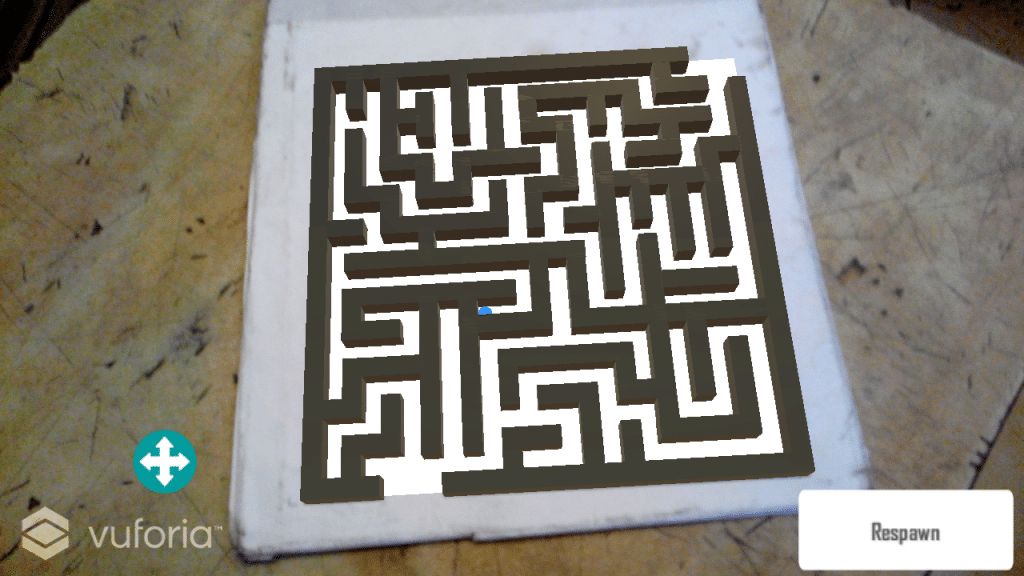
Go to www.vuforia.com and create your developer account. You also need to add an image target, which your camera is going to track. For start, you can use this maze, available here.
Step 3: Download a copy of the database for Unity 3D, alongside the Vuforia plugin for Unity.
After going through these three steps, you’re ready to start the actual development process, so continue with the next steps.
Step 4: Set up the scene in Unity
This is one of the most important steps in our Unity augmented reality tutorial since it’s basically the…let’s call it root of your upcoming AR app. Please follow these instructions:
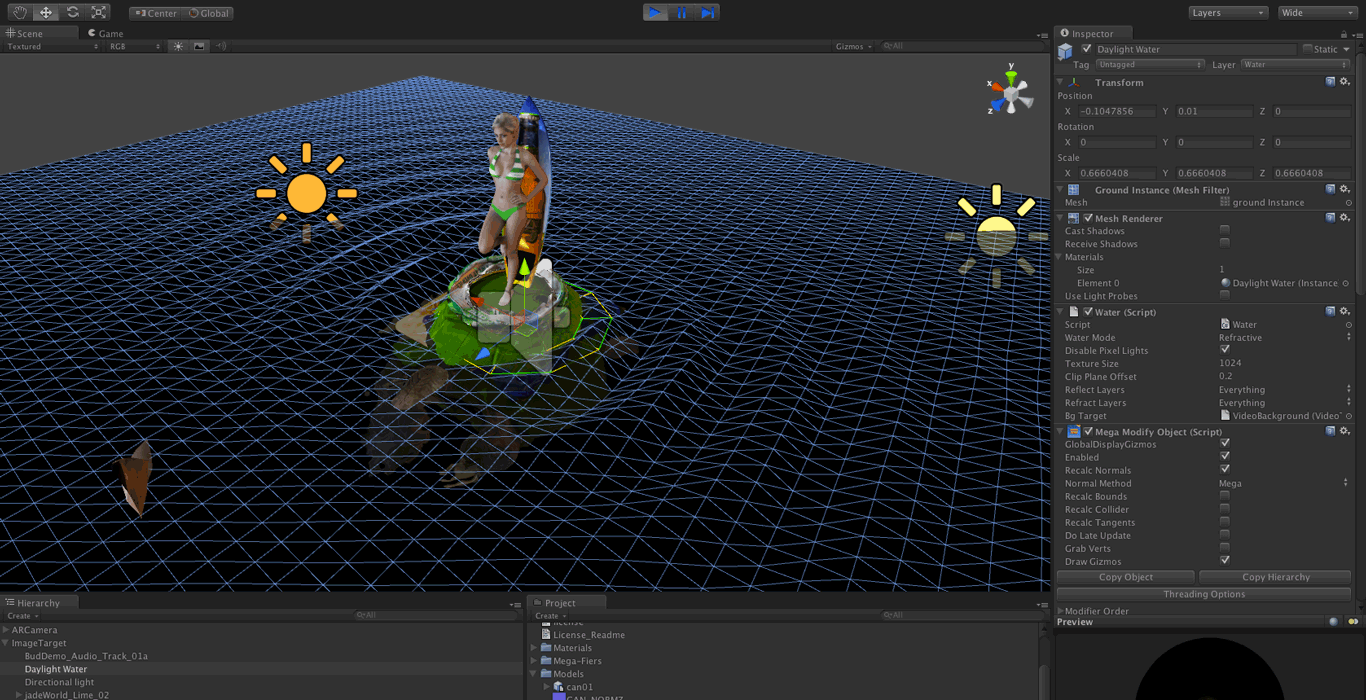
- After opening Unity, you need to import the Vuforia plugin and the image database. In order to do this, go to the Vuforia folder, then click and drag the ARCamera prefab into the hierarchy.
- While in the same folder, look for the imageTarget prefab and also drag it into the hierarchy.
- Next, while in the scene, move the imageTarget prefab just a few units away from the camera. It’s up to you to approximate the distance. The idea is to drag it onto the ARCamera prefab, turning it into a child.
- Using some cubes, start creating a 3D copy of the maze on the image you’ve uploaded earlier, on the image target.
- Create a new material, by making a sphere.
- Drag the new material onto the sphere, but opt for a brighter color.
- Create a cube, the place it above the maze created earlier.
- Remove the collider of the sphere, as well as the mesh renderer.
Step 5: Add some code
Ok, now it’s time for some coding. You need to add a C# script to the sphere, name it “ballScript”, then paste this following chunk of code:
using UnityEngine;
using System.Collections;
public class ballScript : MonoBehaviour {
public GameObject plane;
public GameObject spawnPoint;
// Use this for initialization
void Start () {
}
// Update is called once per frame
void Update () {
if (transform.position.y < plane.transform.position.y – 10) {
transform.position = spawnPoint.transform.position;
}
}
}
Step 6: Build the actual app
While you’re in the scene view, click on the sphere and the ball script, then take the plane and the cube, and drag them into their respective places.
Go to the hierarchy, drag all three elements – plane, sphere, cube – to the top of the image target, in order to make them children.
After this, click play and see what happens.

Does it look like similar to this? If so, congratulations? In most cases, the ball should move smoothly and pretty quick. If it doesn’t, don’t worry, you have all the time to practice.
Wrap-up
I know, it’s not that much, but it’s a great start for anybody who wants to learn more about Unity and augmented reality software in general.
Did the tutorial work for you? Let us know about your experience, by dropping a few lines in the comments section below!


Comments are closed.