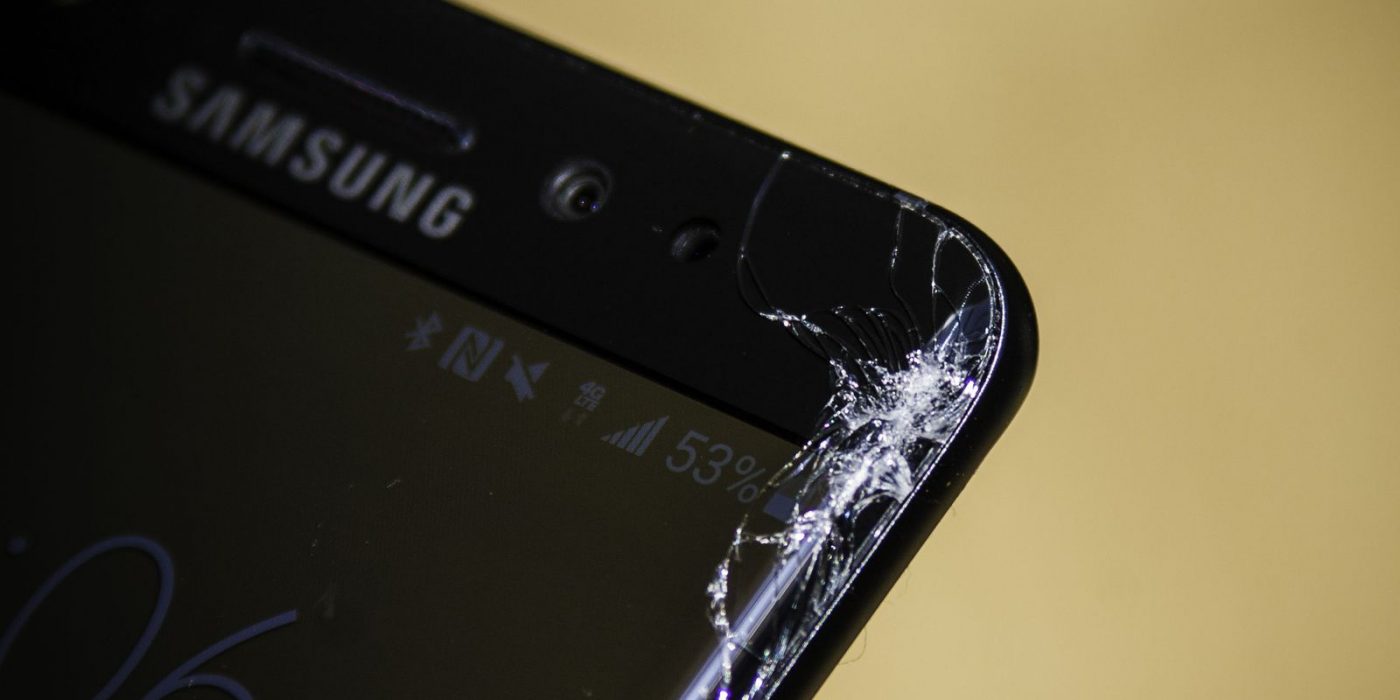
No matter how careful you are when using your phone, it can still happen. Yes, we’re talking about that horrible moment when you drop your phone and you end up with a shattered screen. If you’re lucky enough, the touchscreen still works, as just the glass covering it is broken, but there are users who can’t use the phone at all.
Let’s say that you are among those whose phone is not worth repairing and you decide it’s time for a new one, so you need to recover all your files. But how on Earth can you enable USB debugging with a broken screen, in order to transfer them?
On most phones, this feature is disabled, but you must enable it somehow, otherwise, there’s no chance of recovering your data with that broken screen.
Fortunately, there are a few methods, all of them very efficient and easy to go through.
How to enable USB debugging using an OTG adapter and a mouse
By far the easiest method is to use a mouse and access the USB debugging feature in the phone’s settings menu.
For this, you need a mouse and an OTG adapter, so you can connect it to your phone. Also, make sure that the phone’s battery is fully charged because the mouse drains it pretty fast.
In order to use this method, your phone needs to be OTG compatible. To find out if yours is, go to GSMArena, look for your phone model and, in the COMMS section, look for the USB Host option. If it’s mentioned there, you’re all good to go. If not, give it a try anyway, as it should work on pretty much any phone.
Presuming that you know your way through the phone’s menu, these are the paths you need to follow, depending on your Android version, in order to enable USB debugging with a broken screen:
Android 2.0 to 2.3.x: Settings > Applications > Development > USB Debugging
Android 3.0 to 4.1.x: Settings > Developer Options > USB Debugging
Android 4.2.x and higher: Starting with this version, the USB Debugging menu is hidden, so you need to enable it first. Follow these steps: Settings > About phone/tablet > Build Number. When you reach the Build Number, click on it seven times, in order to enable the Developer Options sub-menu. Go back to the Settings menu and you should find Developer Options, just above About Phone. Enter Developer Options and check the USB Debugging option
Android 5.0: Same procedure as for the previous version
Android 6.0 and higher: Same procedure as for the previous version
Note: Always disable USB debugging after using it, as enabling it grants high-level access to the phone. In this case, if you’re not planning to use the phone with the broken screen again or sell it, you can leave it enabled though, since it doesn’t matter that much.
How to enable USB debugging using ADB Commands
Google thought about such issues when developing Android, so they included a tool known as SDK. Within this tool, there is a feature called ADB, which you can use to connect to your handset, via USB, and perform a couple of commands without actually touching the display.
If you don’t have it on your phone, you can get all Android development tools from here. Then install ADB. Also, it’s worth mentioning that ADB doesn’t communicate with a phone unless USB debugging is enabled.
Therefore, these are the steps you need to follow:
- Install ADB on your PC
- Connect the phone to a PC, using a USB cable
- Boot your phone into ClockworkMod Recovery, by pressing and holding the Power Button + Home Button + Volume Up or Down, depending on your phone
- After loading ClockworkMod Recovery, check if the ADB connection is running, by opening a command prompt on your PC and typing adb devices
- Start backing all the data on your phone, by typing in the same command prompt adb pull / data / media / clockworkmod / backup ~ / Desktop / Android-up
Note: Don’t try this method unless you’re an advanced Android user. A simple mistake in the middle of the process could damage your phone completely.
How to recover your data using a third-party tool
Presuming that the main reason why you want to enable USB debugging on a phone with a broken screen is to recover your data, you can also do it using a third-party tool, but without enabling the feature on your phone.
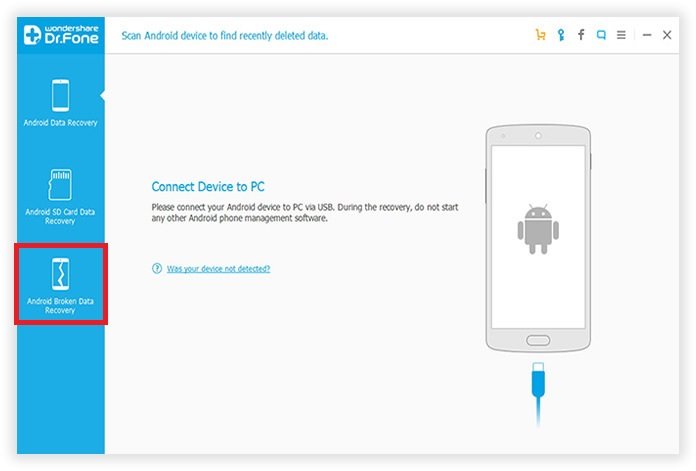
There are several recovery tools for Android available for download, but, obviously, only a few of them are worth trying. One of them is Dr. Fone’s Toolkit for Android, which includes an Android Data Recovery feature, which we also recommended in our guide on how to recover deleted photos.
Therefore, in order to enable USB debugging with a broken screen, you need to follow these steps:
- Download Android Data Recovery and install it on your PC
- Connect your Android handset to the PC, using a USB cable
- From the main menu, choose the Android Broken Data Recovery option

- In the menu that appears, you will see various types of data you can recover. Select everything you want to transfer from the phone and press Start
- Select your phone model, using the two drop-down menus, then click Next
- Enter Download mode, by following the on-screen instructions
- Wait until the program detects and locates the files on your phone
- Click Recover and wait until it’s over. You will have a backup file with all the data, which you can transfer to a new phone
And there you have it! Two methods you can use to enable USB debugging on a broken screen, as well as an additional one, which you can use to transfer data from a phone with an unfunctional display.
Which one of these is your favorite? Also, do you know any other methods of doing this? Let us know your thoughts, using the comments section below!


Comments are closed.